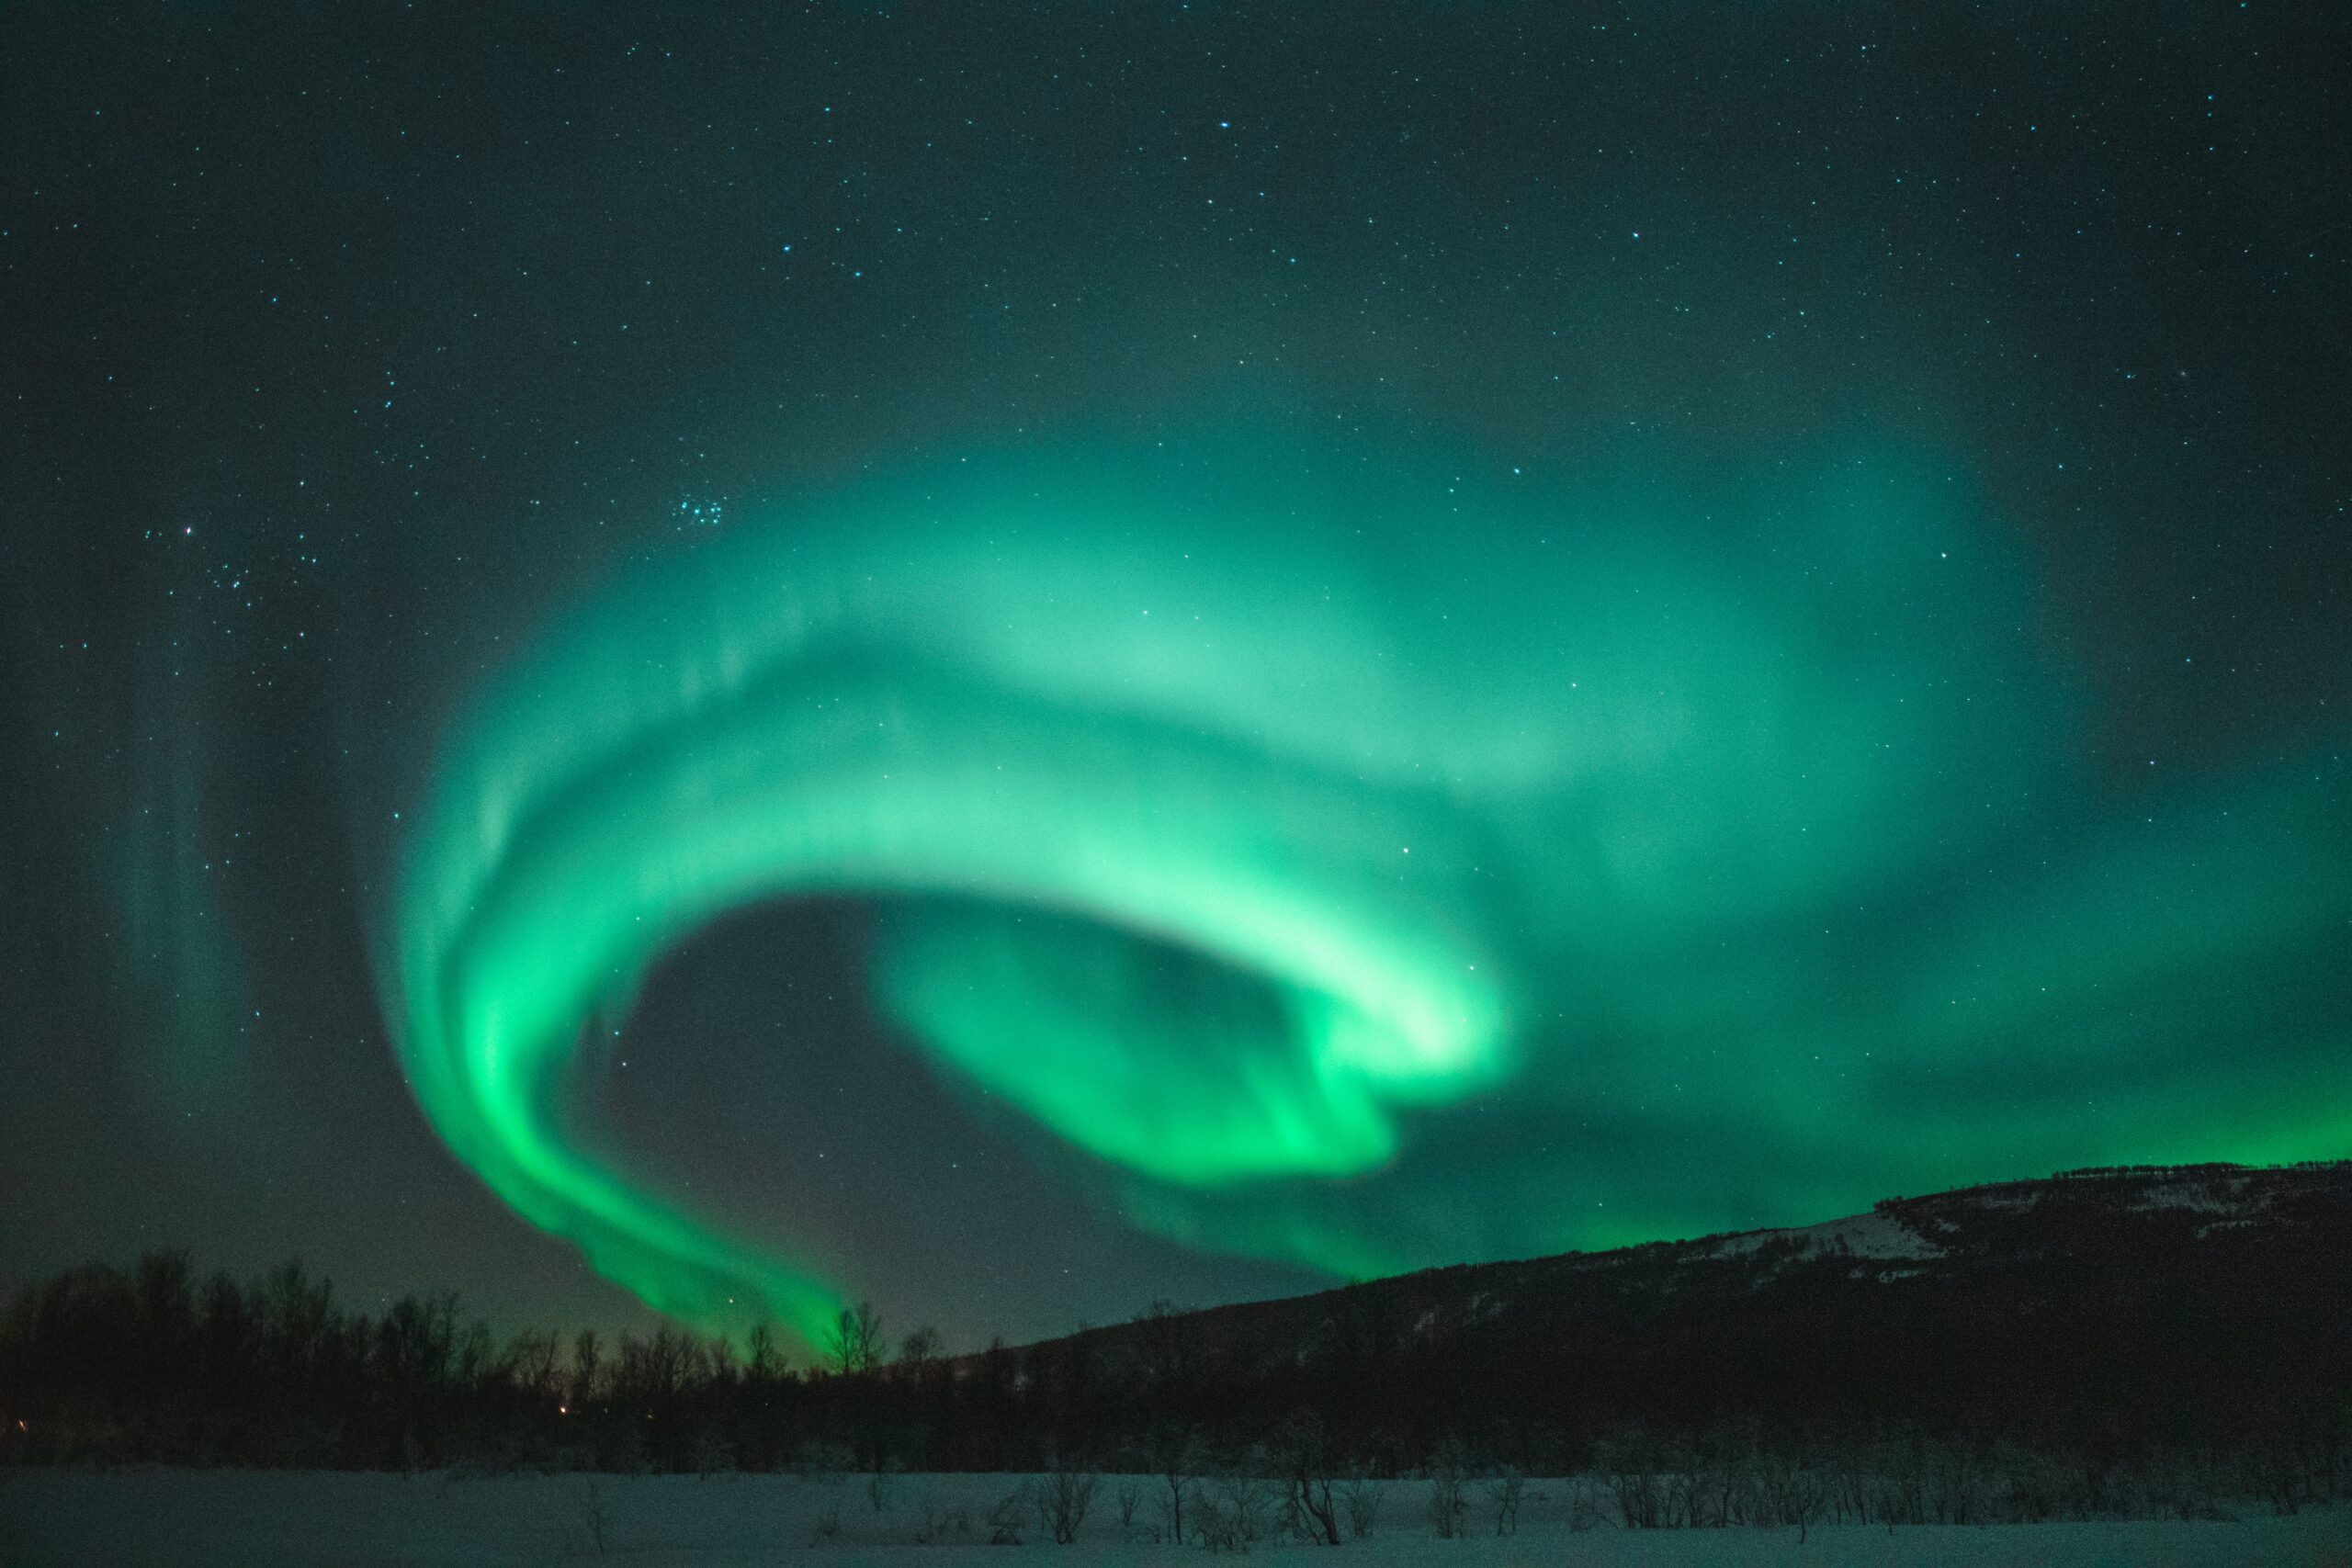
Seeing the Northern Lights dance across the sky is one of those moments you never forget. Capturing that magic in a photo lets you relive it long after the night is over. That said, photographing the aurora isn't always straightforward. A little preparation, the right settings, and a few tried-and-tested tips can make all the difference (and yes, we've learned these the hard way  ).
).
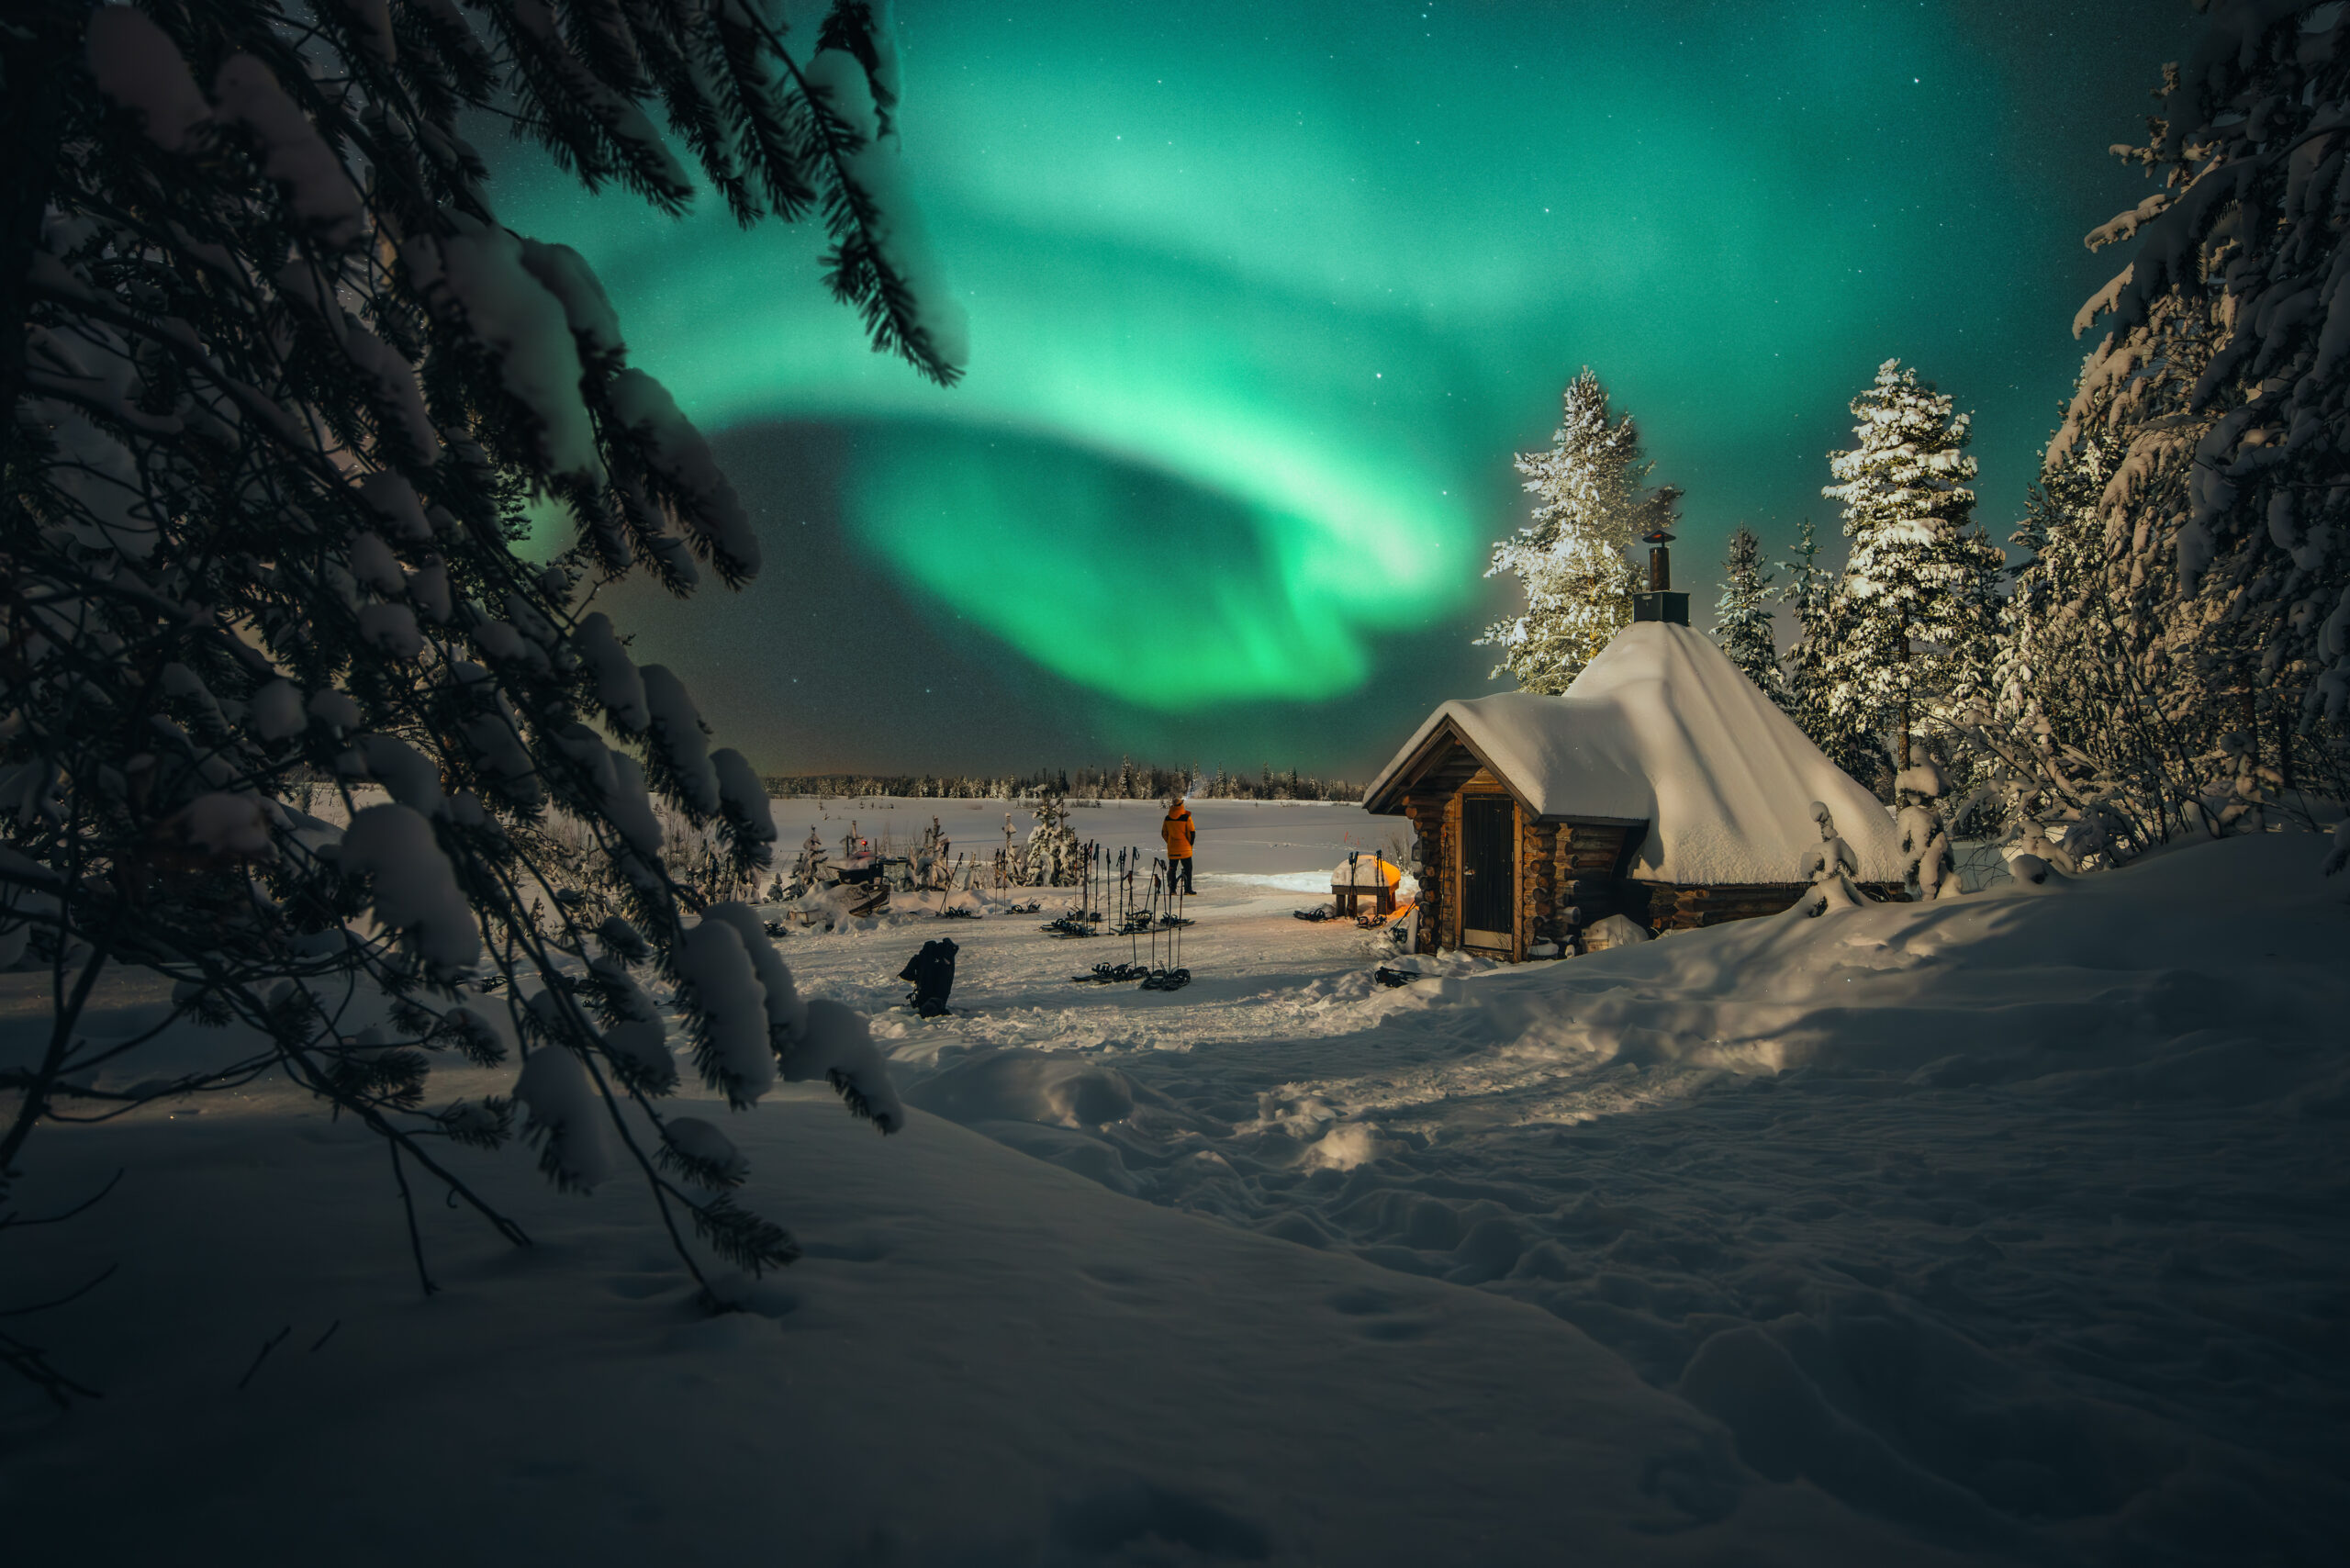
What could be a better souvenir from Lapland than your own stunning Northern Lights photo? Whether you're shooting with a smartphone or a dedicated camera, this guide will help you get the most out of the experience.
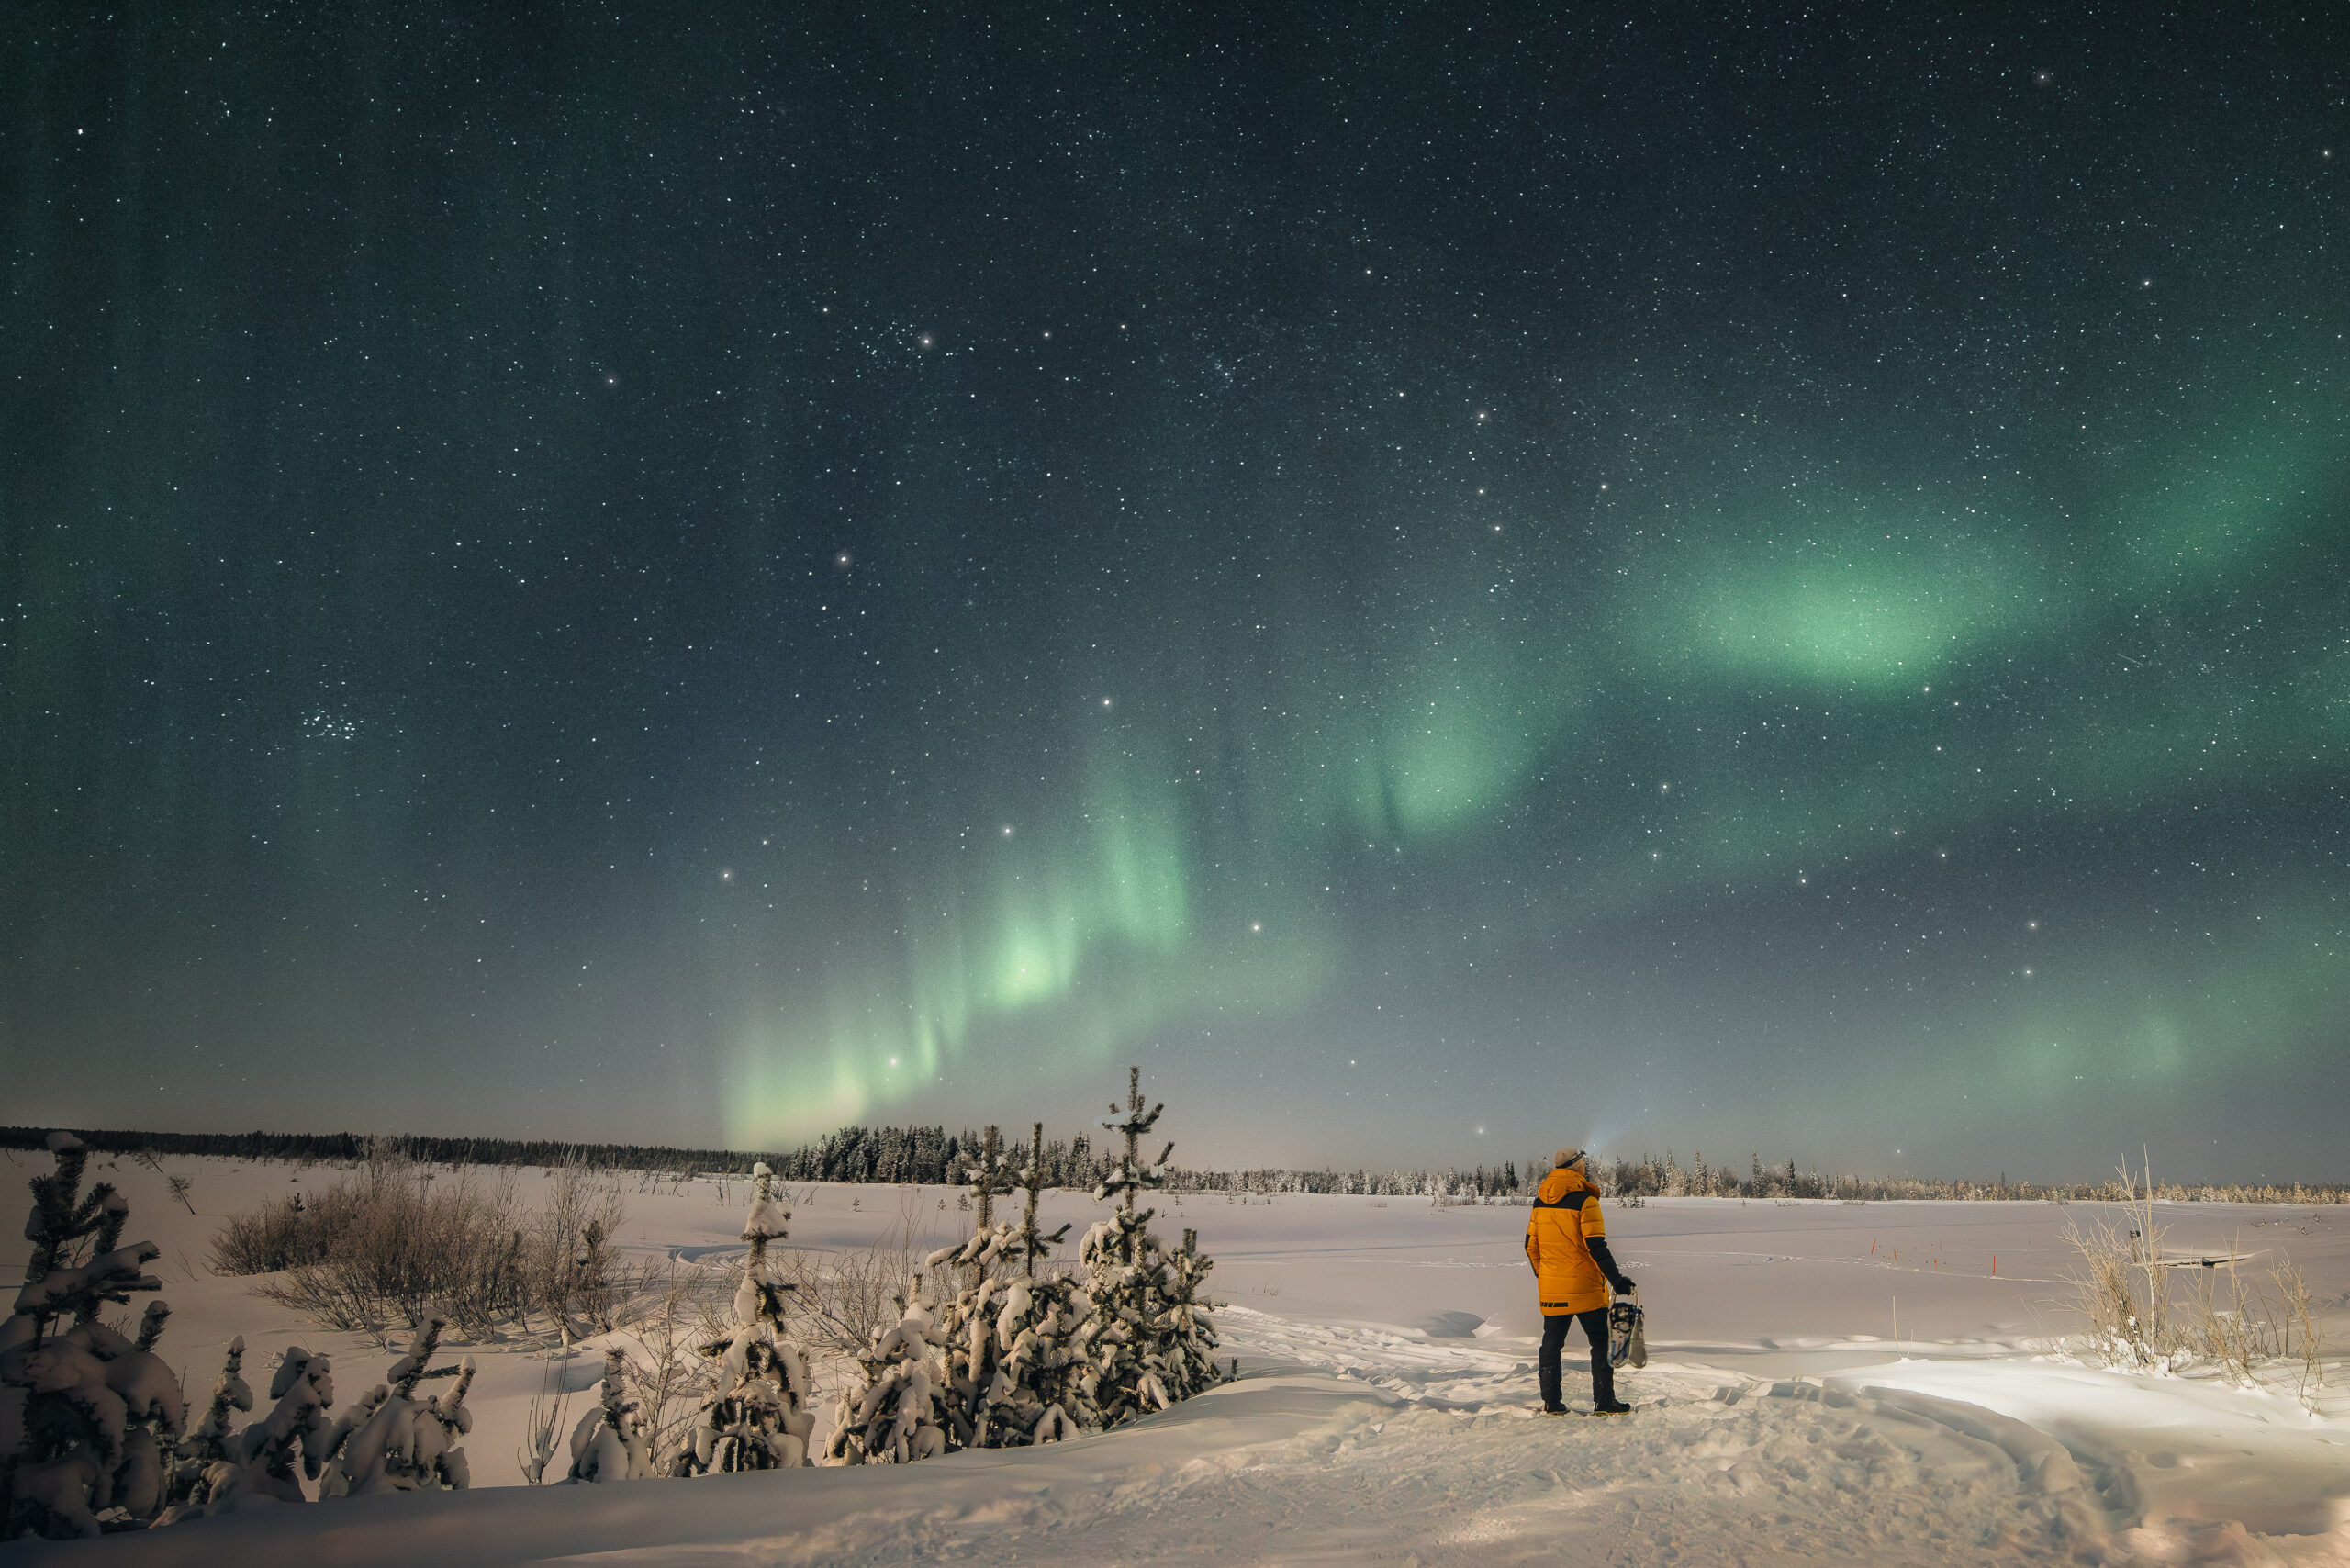
Before heading out, make sure you're well prepared. The Northern Lights are typically visible from late August to April, and the further north you go beyond the Arctic Circle, the better your chances. Check the weather forecast, choose a spot away from light pollution, and dress warmly. Being ready means you can focus on the sky when the show begins.
How to Photograph the Northern Lights with Your Phone
No camera? No problem. Modern smartphones are surprisingly capable, and with the right approach, they can capture beautiful aurora photos.
If your phone supports manual or Pro mode, use it. Many Android phones allow you to adjust ISO, shutter speed, and focus-key settings for low-light photography. If your phone offers RAW shooting, choose it over JPEG to preserve more detail and give yourself more flexibility when editing later.
iPhone users can rely on Night Mode, available on models from the iPhone 11 series onwards. It activates automatically in dark conditions, extending the exposure time and reducing noise. If you're not comfortable with manual settings, this feature can work wonders-though results will still depend on conditions and your specific model.
One important tip: use the main camera (1x) instead of the ultra-wide lens (0.5x). While ultra-wide lenses capture more of the sky, they let in less light, which often makes the aurora look softer. The main lens is usually much better in low-light situations.
Avoid using the flash. It won't light up the sky and can easily ruin both your photo and the experience for others around you. Instead, focus on letting the natural glow of the aurora stand out against the dark sky.
Just like with a camera, a tripod is incredibly helpful. Long exposures require total stability, and even a small movement can blur the image. A sturdy tripod will noticeably improve your results.
Photographing the Northern Lights with a Camera
When it comes to cameras, long exposure is the key to capturing the aurora. Because the shutter stays open for several seconds, stability is crucial-so a good tripod is not optional, it's essential.
Choosing the Right Camera and Lens
A full-frame camera is ideal thanks to its better low-light performance, but it's not the only option. Pair your camera with a wide-angle lens that has a large aperture (for example, f/2.8 or wider). This allows more light to reach the sensor and helps you capture brighter, sharper auroras.
Every camera behaves a little differently in the dark, so practice photographing the night sky before your Northern Lights adventure. Get comfortable with your settings, and always shoot in RAW format to preserve as much detail as possible.
Camera Settings Explained
Switch your camera to manual mode so you can fully control shutter speed, aperture, and ISO-the three elements of the exposure triangle.
Shutter speed determines how long the sensor is exposed to light. For Northern Lights photography, a range of about 3-25 seconds works well. If the aurora is moving quickly, try 3-7 seconds. For calmer or dimmer displays, 10-25 seconds usually gives better results.
Aperture controls how much light enters the lens. Set it as wide as your lens allows. For aurora photography, an aperture between f/1.4 and f/2.8 is ideal.
ISO controls the camera's sensitivity to light. While a higher ISO brightens the image, it also introduces noise. Aim to keep ISO as low as possible while still capturing enough light. In most cases, ISO values up to around 5000 strike a good balance.
For sharp images, switch to manual focus and focus on a bright star. This helps ensure both the stars and the Northern Lights stay crisp. Focus peaking can also be useful, as it highlights areas that are in focus. Autofocus often struggles in the dark, so manual focus is usually the safest choice.
Bonus Tips for Camera Users
Cold temperatures drain batteries quickly-keep spares warm in an inner pocket
Bring thin gloves so you can adjust settings without freezing your fingers
A headlamp or small flashlight makes setting up in the dark much easier
Still Unsure About Your Photography Skills?
You don't have to figure it all out by yourself. Join us on a Northern Lights adventure and learn how to capture better photos along the way.
Photographing the Northern Lights takes practice, and everyone starts somewhere. Check the forecast, dress warmly, get familiar with your device, and be ready when the sky lights up. With patience and the right techniques, you'll be able to capture truly stunning images of this magical natural phenomenon.
Easy Northern Lights E-Fatbike Tour
https://polarstartravel.fi/en/experiences/easy-northern-lights-e-fatbike-tour/
Evening Snowshoeing to Search for Northern Lights
https://polarstartravel.fi/en/experiences/evening-snowshoeing-to-search-for-northern-lights/